Luckily, today began with two students in another workshop asking our instructor to give them advice on varnishing their paintings. He decided to call us all over to explain the process in detail. It is something you never learn in school but following the proper procedure when varnishing can make or break any painting.
You start by making sure that the painting is very dry, preferably six months to one year. Otherwise, if your oil paint is not sufficiently dry, you can damage it by applying the varnish too soon.
Make sure your painting is also very clean. Put a bit of mineral spirits on a cloth and wipe it with a shop rag to make sure there is no dust or debris on the painting. Fernando suggested that we buy a nice varnishing brush and that we use that brush only for varnishing.
There are many types of varnishes that can be used but his preference is Gamvar varnish by Gamblin. The Masters used Damar varnish. I used Damar myself until recently. Evidently, museums are now using Gamvar for retouching the works of the Masters because it is less likely to cause damage to the painting.
After cleaning your painting, lay it flat. Pour some varnish in a pie pan and apply starting at the center and working your way out to the edges. Criss-cross your brush strokes to pull a thin layer over the oil and to make sure all the hills and valleys of the painted surface get enough varnish. The varnish may soak into the canvas through the gesso in thinner areas. If that is the case, you may need to work your brush strokes more in that area.
Let the varnish dry overnight. If areas of your painting are still absorbing more of the varnish than other areas, you may need to apply a second coat.
After the lecture on varnishing, I started the “second painting” process today. That is the finishing layer or layers of paint to enhance the shape and form by using linseed oil mixed with your paint. This is actually the most fun part of painting in my opinion. You are building up the shapes and forms you already laid down to get the drama you desire. This stage is also called “glazing”. Many artists mix linseed oil with varnishes in their glazes. Some use linseed oil and Gamsol. Fernando’s preference is one part turpentine or Gamsol, one part stand oil, and one part linseed oil.
At this stage, you work with pure paint along with linseed oil or glazing mixture to give your painting the final finish and the pop you are looking for.
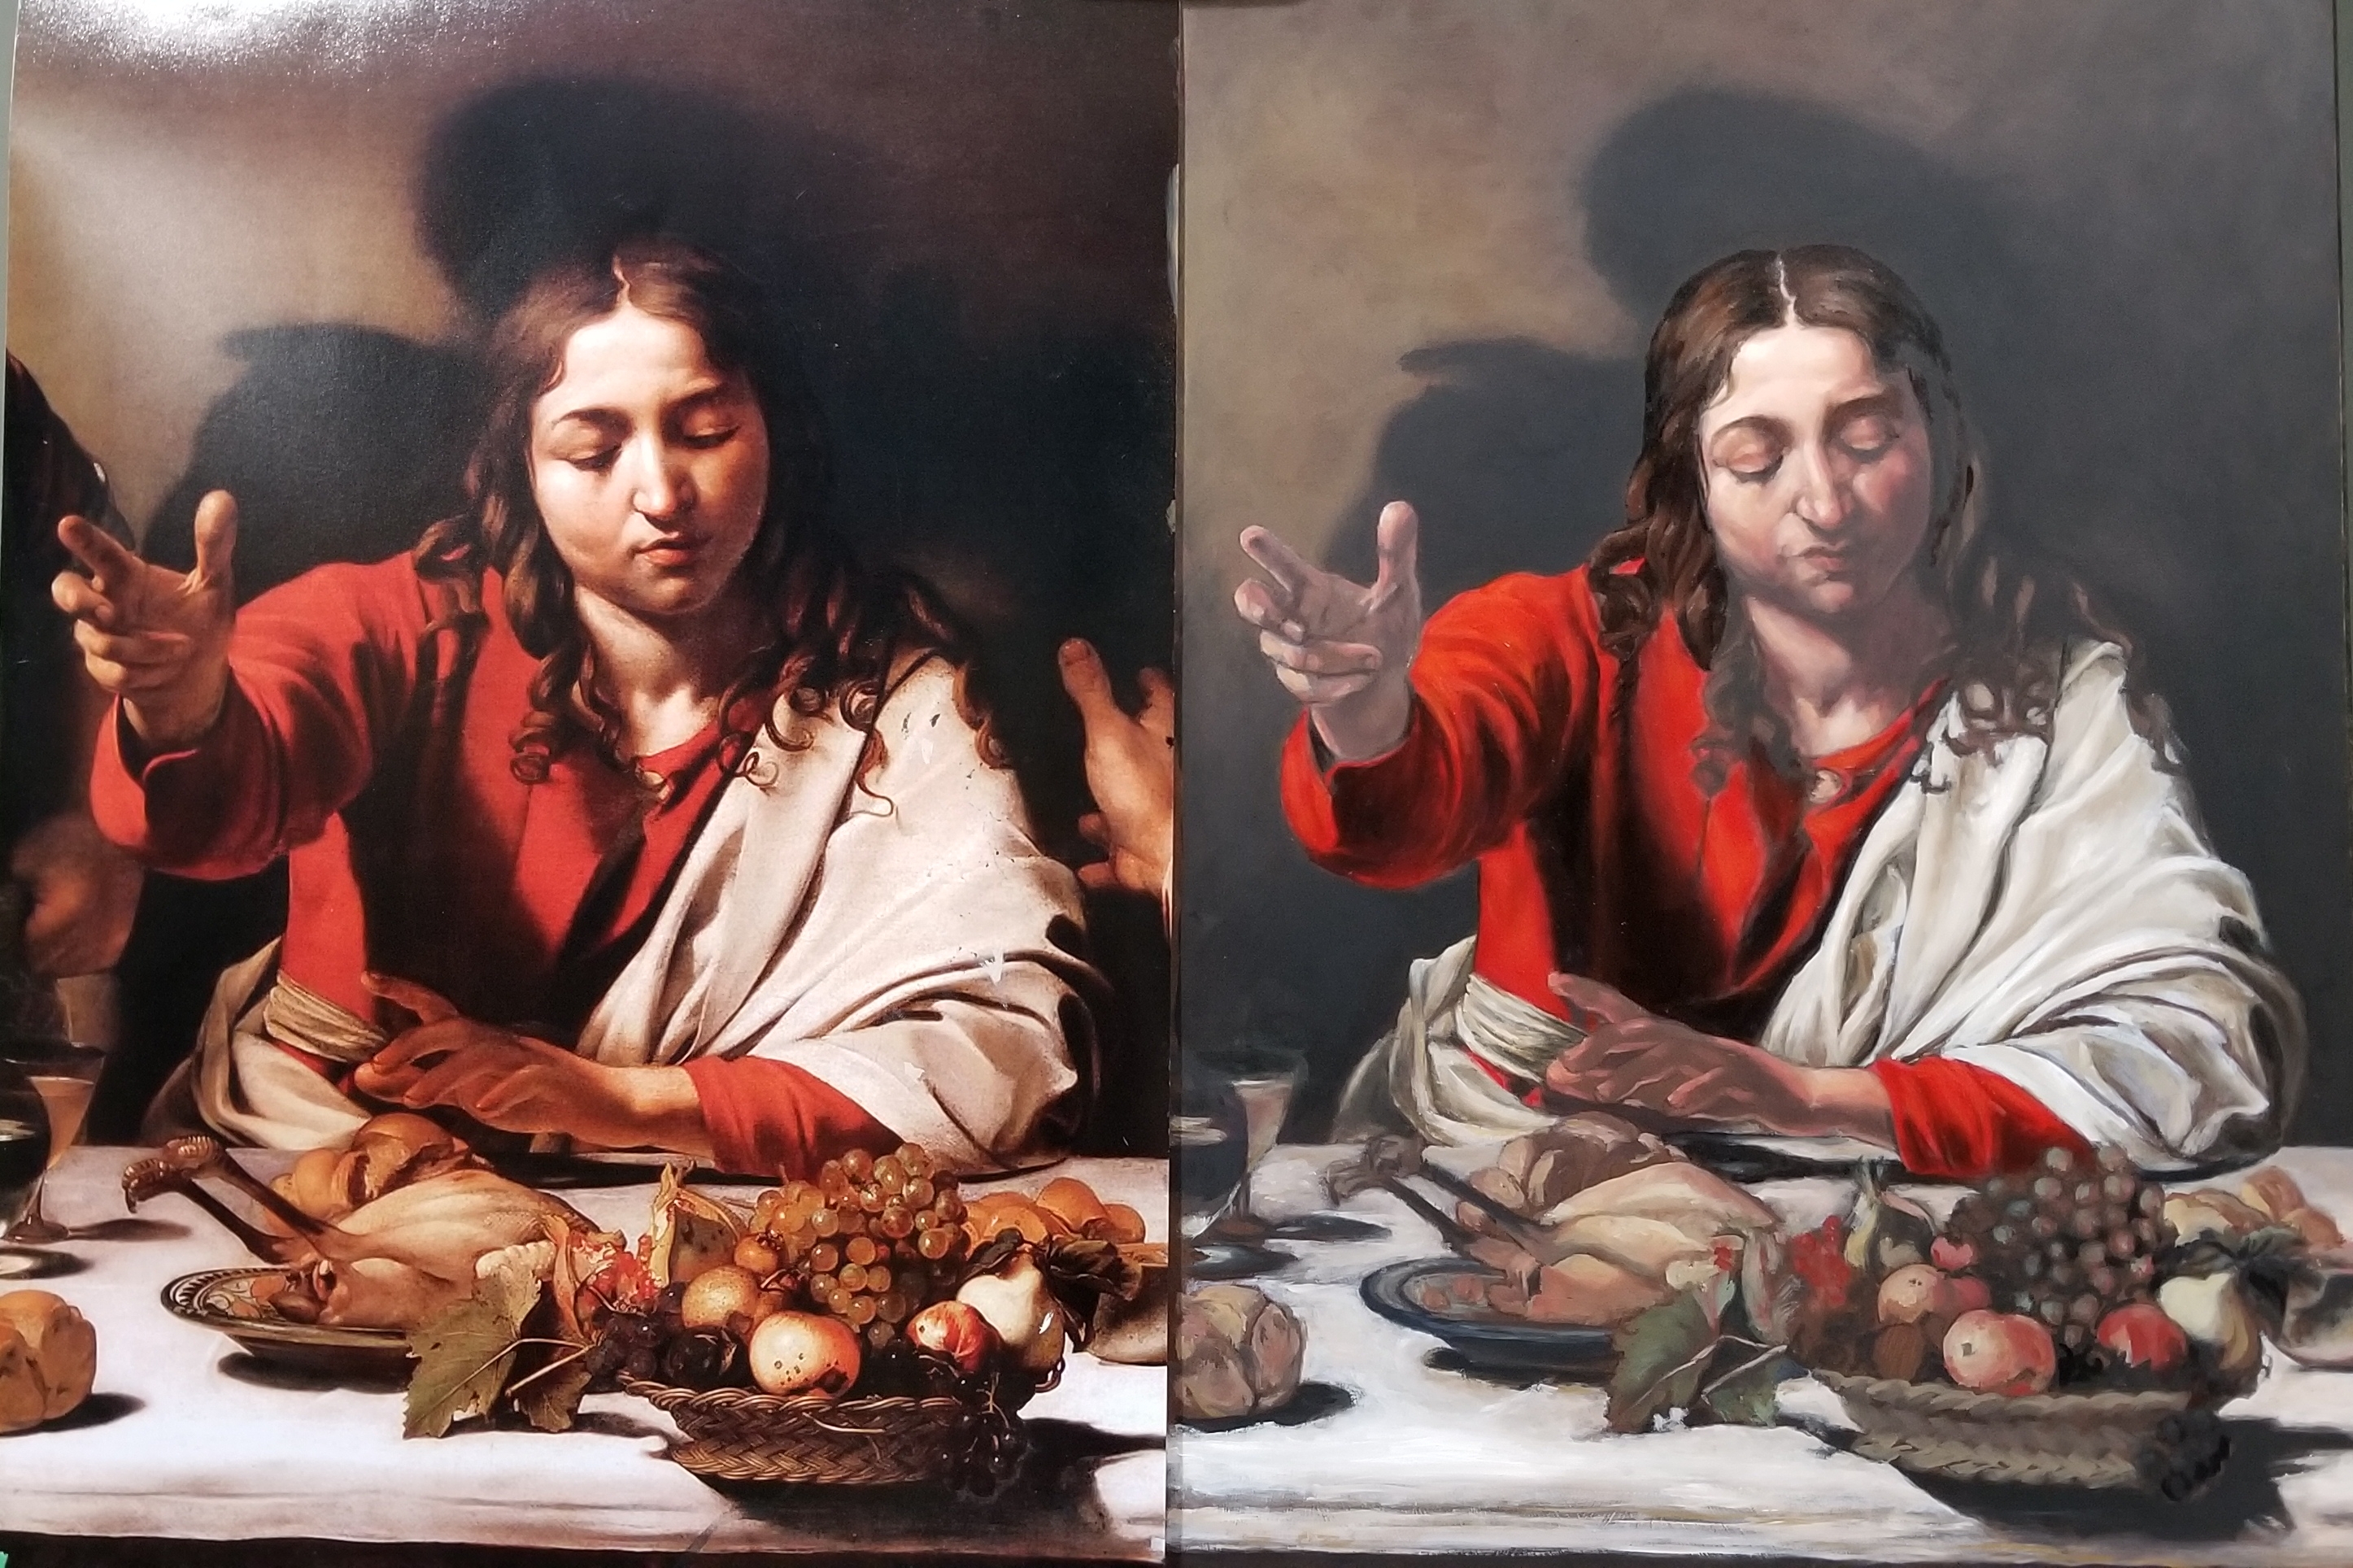
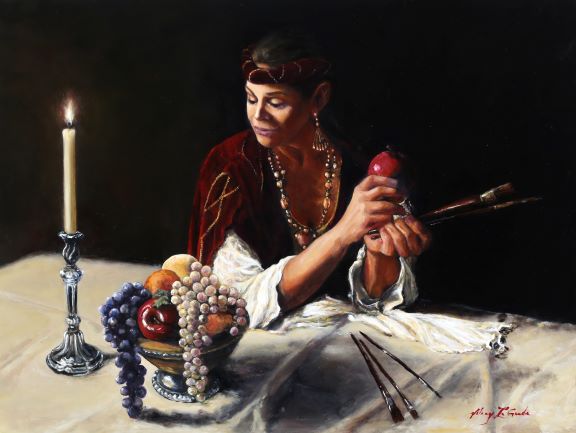
Here’s a picture that shows the beginning of my “second painting” . I worked on the right eye, a little of the cloak, and some of my subject’s hair. As you can see, the unglazed portion looks dull and flat whereas the glazed part has more luminosity. I hope you can see the difference in this photo. My goal is to finish this stage tomorrow which happens to be the last day of class.